tray for Atreus
In the last post that I wrote about Atreus build, I noted that there’s an issue of keyboard positioning:
Even if I can overcome the layout and memorize the various symbol locations, there’s the issue of the placement. If I place the keyboard in between me and the laptop the screen becomes too far.
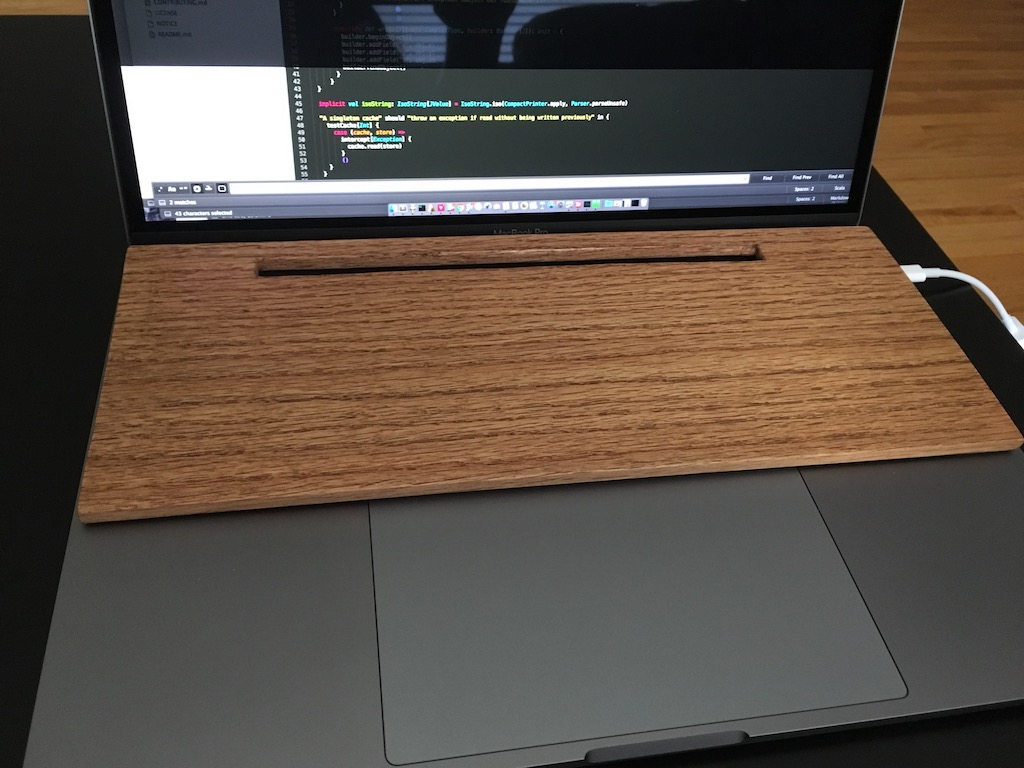
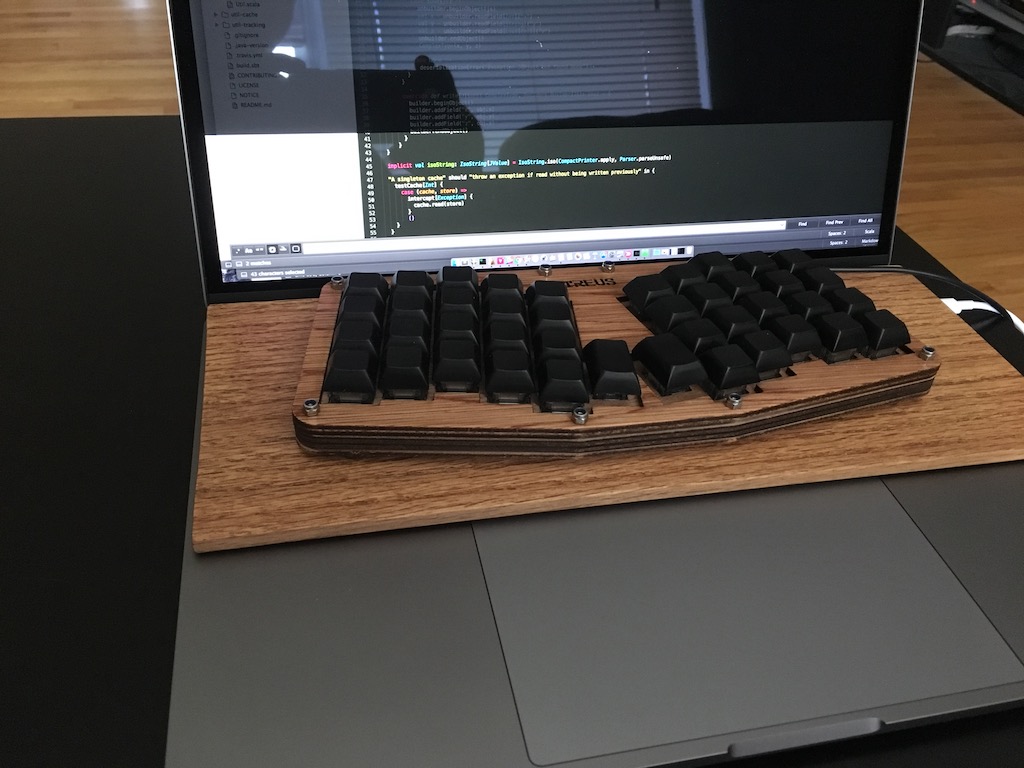
I solved this issue by making a tray for Atreus that I can position it on top of the MacBook Pro keyboard.
Great post; thanks. For the positioning, have you tried disabling the internal keyboard and placing the Atreus on top of the laptop?
— technomancy (@technomancy) June 19, 2017
This was inspired in part by @technomancy’s suggestion that I could directly place Atreus on top of the MacBook Pro keyboard. Maybe his Thinkpad is sturdier, but I am definately not crushing my brand new laptop.
The materials
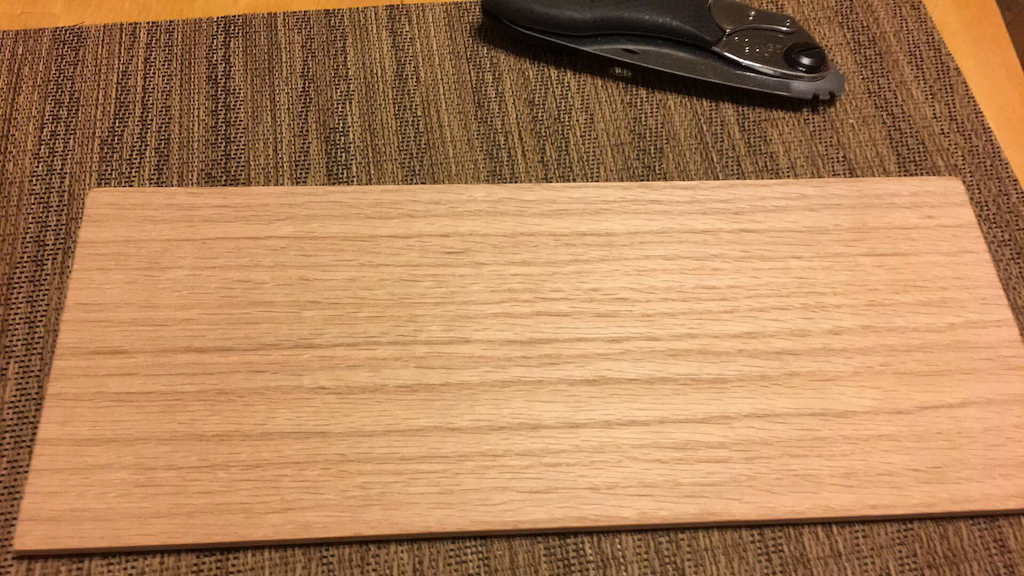
- 1 “1/4 in x 6 in x 48 in” Oak hobby board ($8.52)
- 1 3M Garnet Sandpaper Med 100 grit ($3.97)
- 1 Sandpaper 200 grit
- 1 Small Parts General Purpose Rubber, 70A Durometer, Smooth Finish, Adhesive Backed, 0.062" Thickness, 2" Width, 36" Length, Black ($8.84)
- Minwax Clear Aerosol Lacquer, Clear Gloss
- Used coffee grounds
For tools, I used
- Morakniv knive
- Hook knife
- Silky pocketboy folding hand saw
- Steel square
The procedure
It’s basically a pieace of board cut to the width of MacBook Pro, so not big deal. You would want to cut it slightly narrower. Otherwise it would obstruct connected devices and headphones. It should now function as a keyboard tray.
For mine, I wanted to lower the profile of the keyboard, so I created a groove such that the front bumpons and the bolt heads fits in, tilting the keyboard slightly forward. Chisel enough notch and guidelines using a knife, and then use a folding saw.
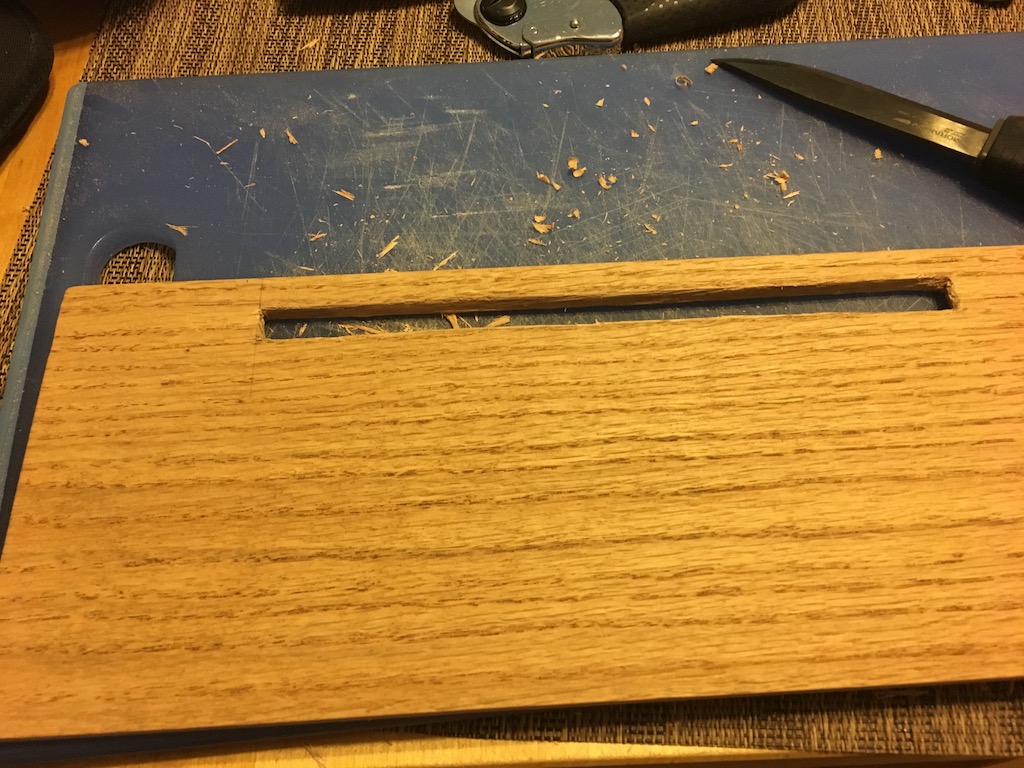
Next sand all surface and corner so there are no sharp edges, first using 100 grit, and next using 200 grit paper.
Next, you’re probably supposed to use finishing stain, but I didn’t have any so I used used coffee grounds. The purpose is to bring the woodgrains out, and also to get it closer to the mahogany color of the keyboard. The board becomes rough if it absorbs too much water, so you want to get just the grounds and rub them all over. Let it dry for a day.
Pick the smoother side of the board as the top. On the bottom side, apply two coats of lacquer. On the top side, apply ten coats of lacquer. This should protect it against the elements.
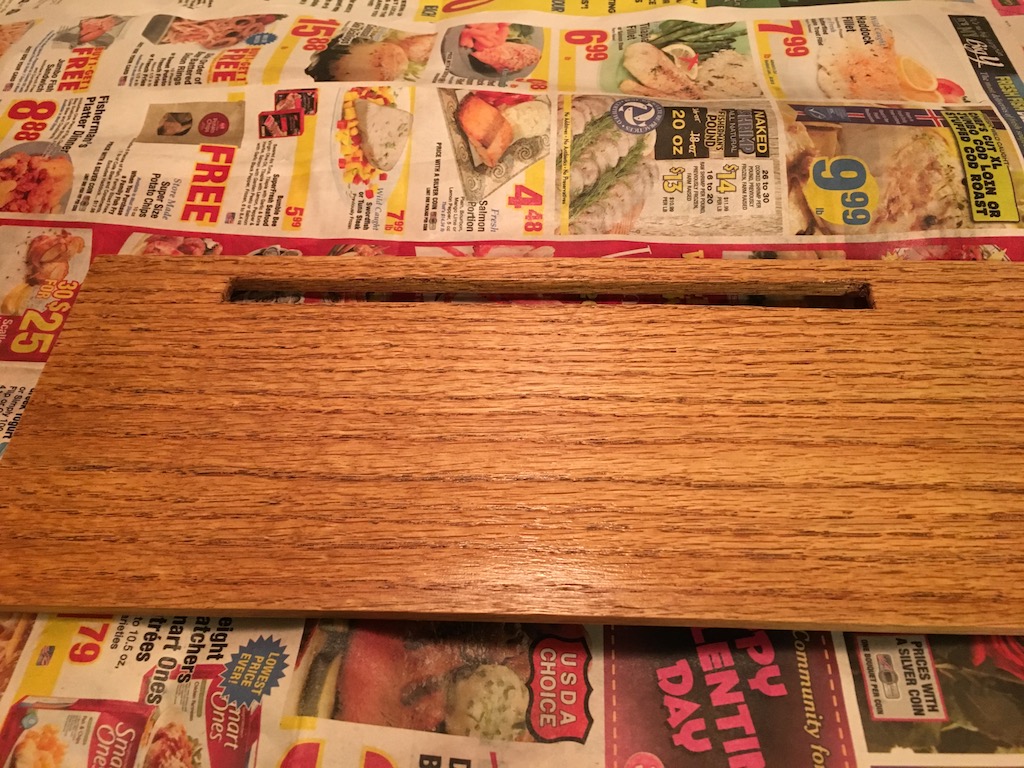
Let it dry for 24 hours.
Finally stick the self-adhesive rubber strips on left and right edge of the bottom side. This is mostly so the board doesn’t touch the MacBook Pro keyboard. It should have around 1.5mm clearance if we believe the label. The tray is pretty secured while typing, but the rubber strips provide additional grip. This might matter more you mount the MacBook Pro on a tilted stand.
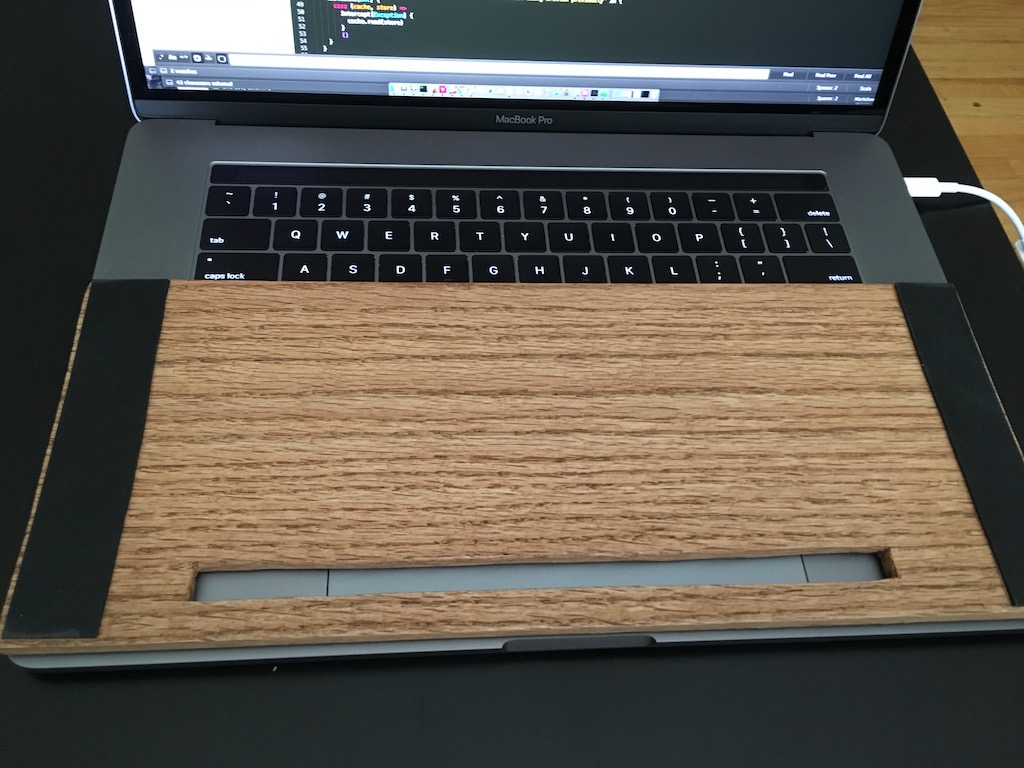
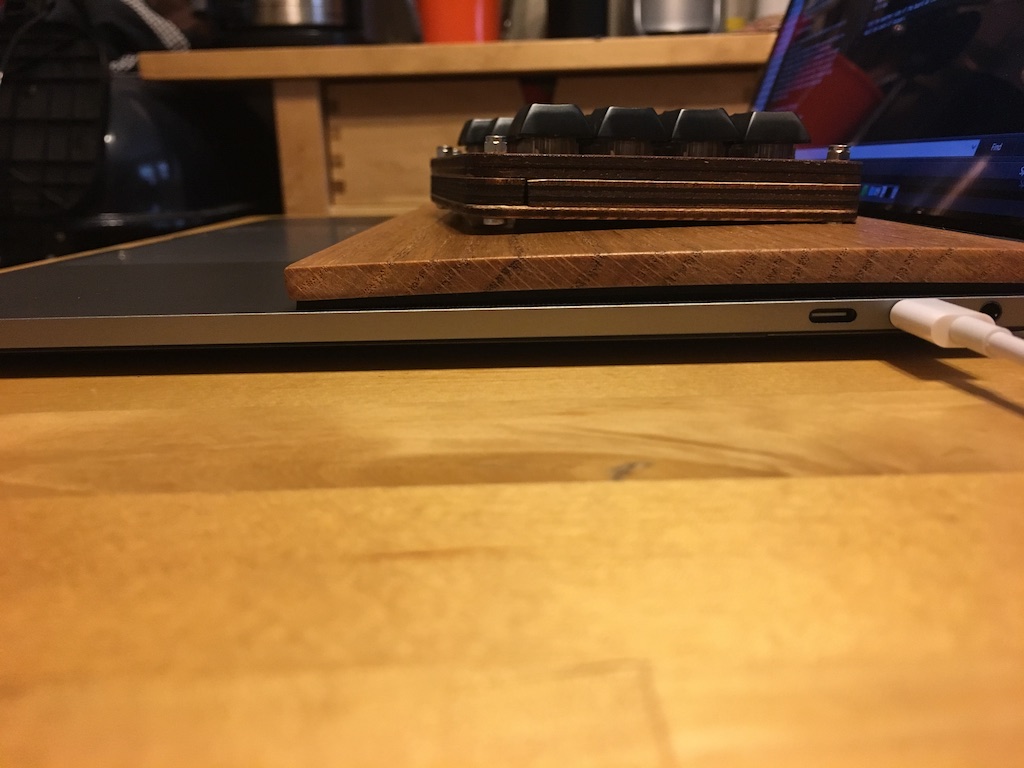
Here’s the side view.
